Painting guide
Painting skin and fabric on figures: tones, sheen, and contrast
How skin tone, blush, and shading are layered on a figure, and how different sheen levels make leather, nylon, and cloth read as different materials.
On a character or pin-up figure, the contrast between skin and clothing carries most of the realism. Because every part of a resin figure or garage kit starts as the same hard material, convincing skin and fabric depend on two things: building translucent skin warmth in thin airbrushed layers, and assigning each costume material its own clearcoat sheen.


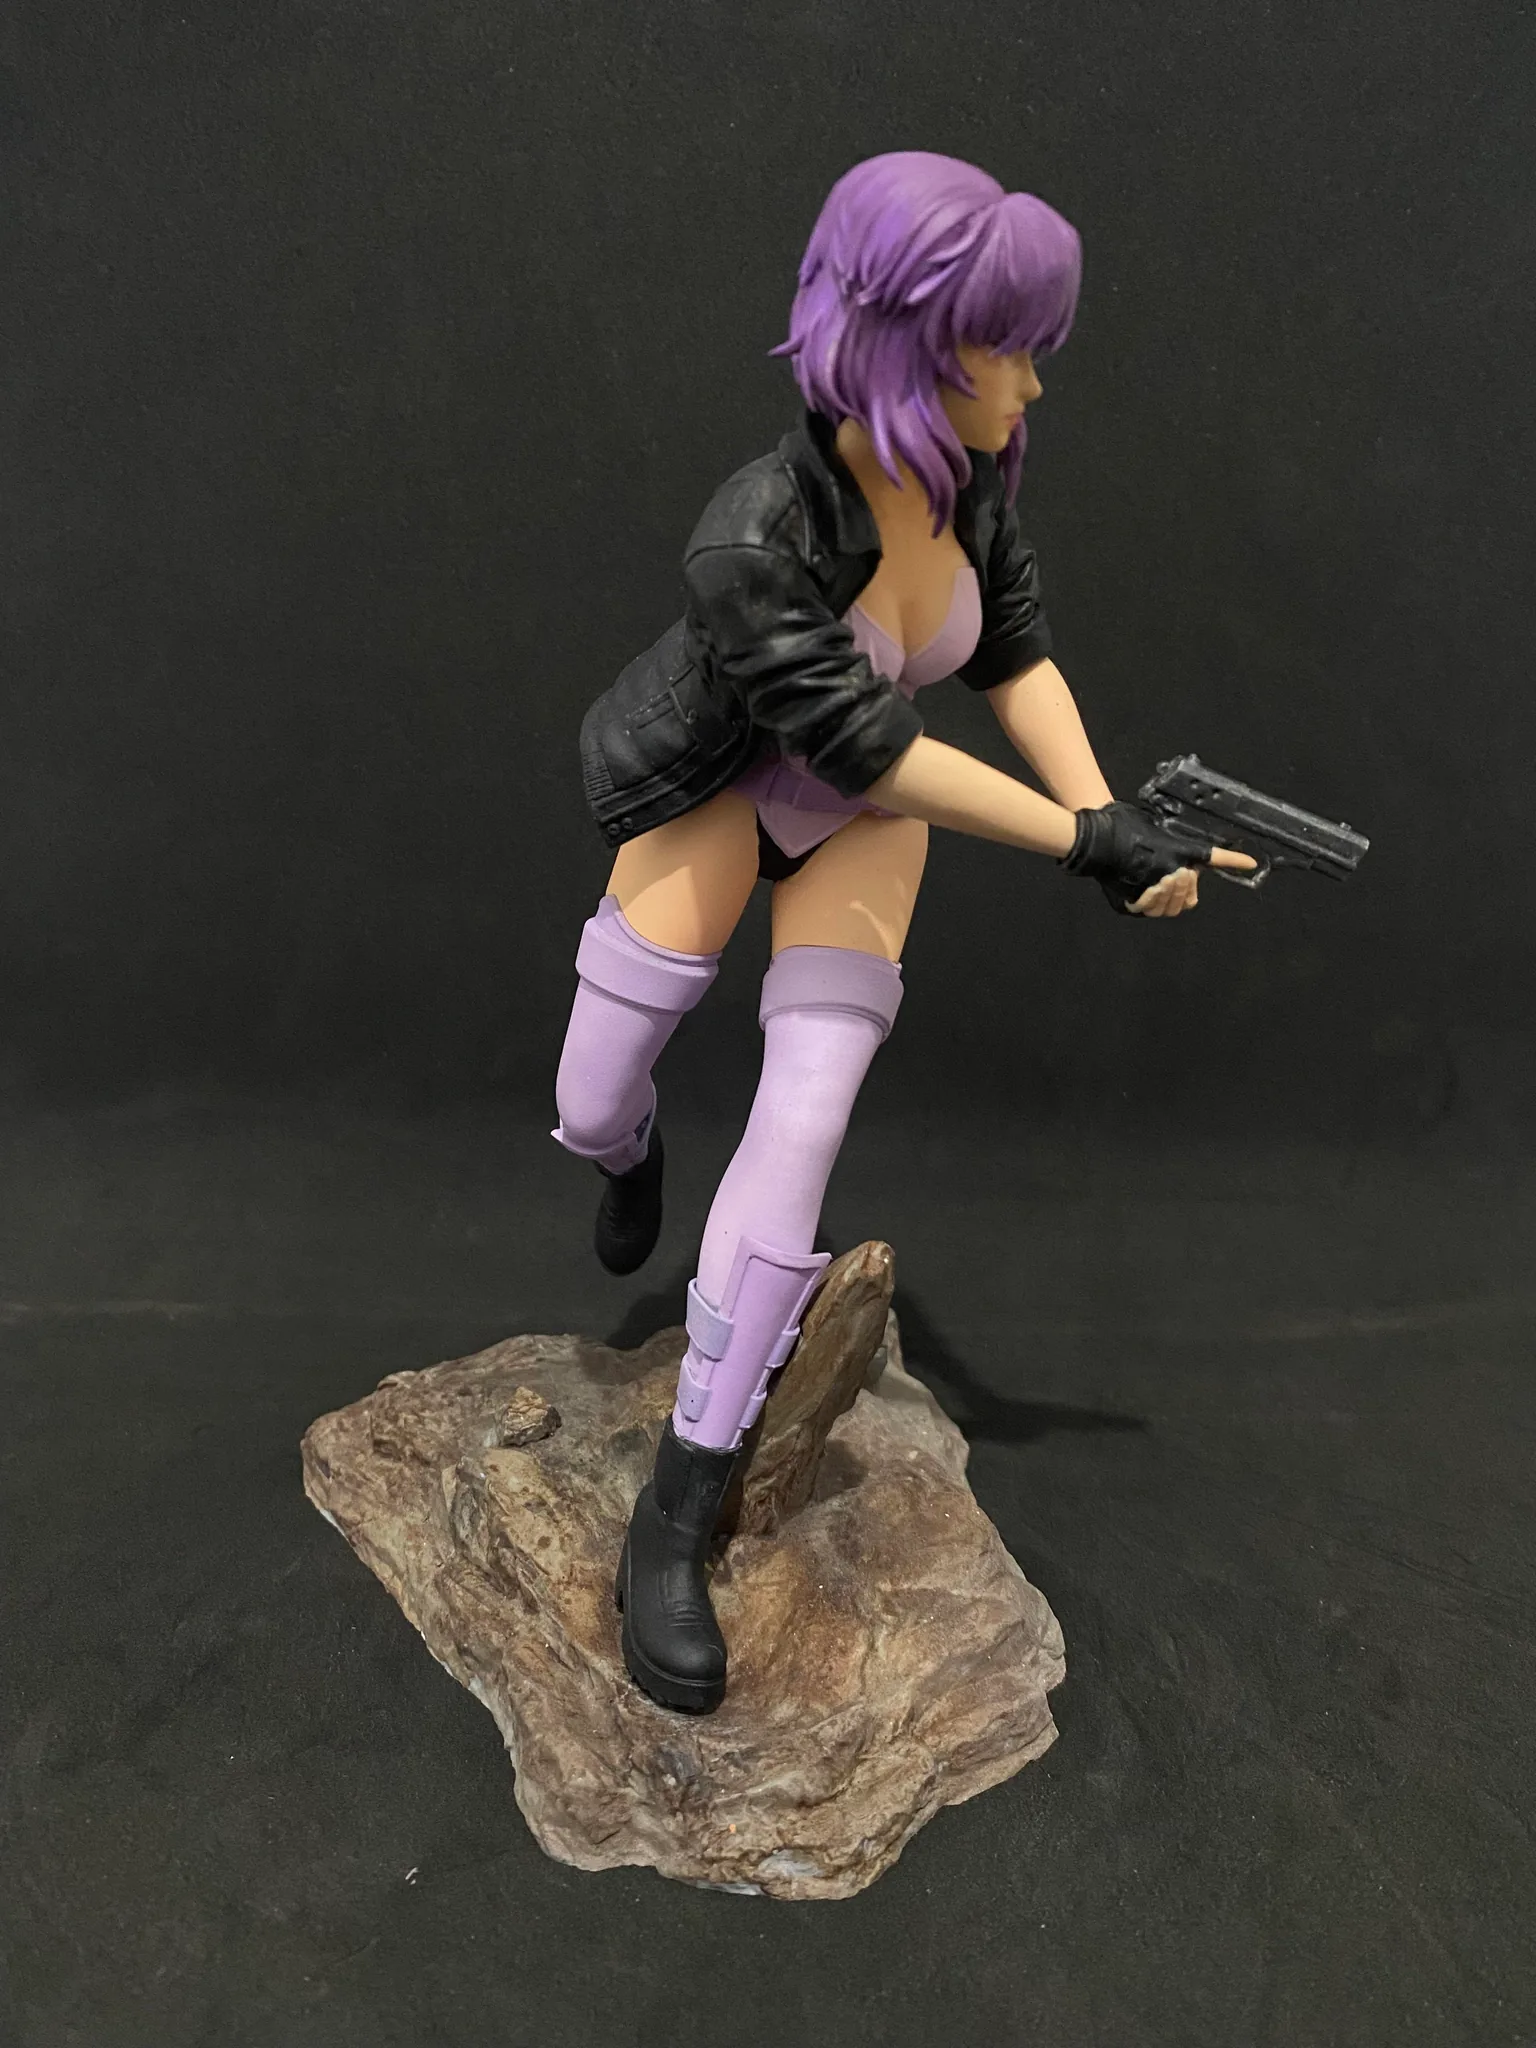
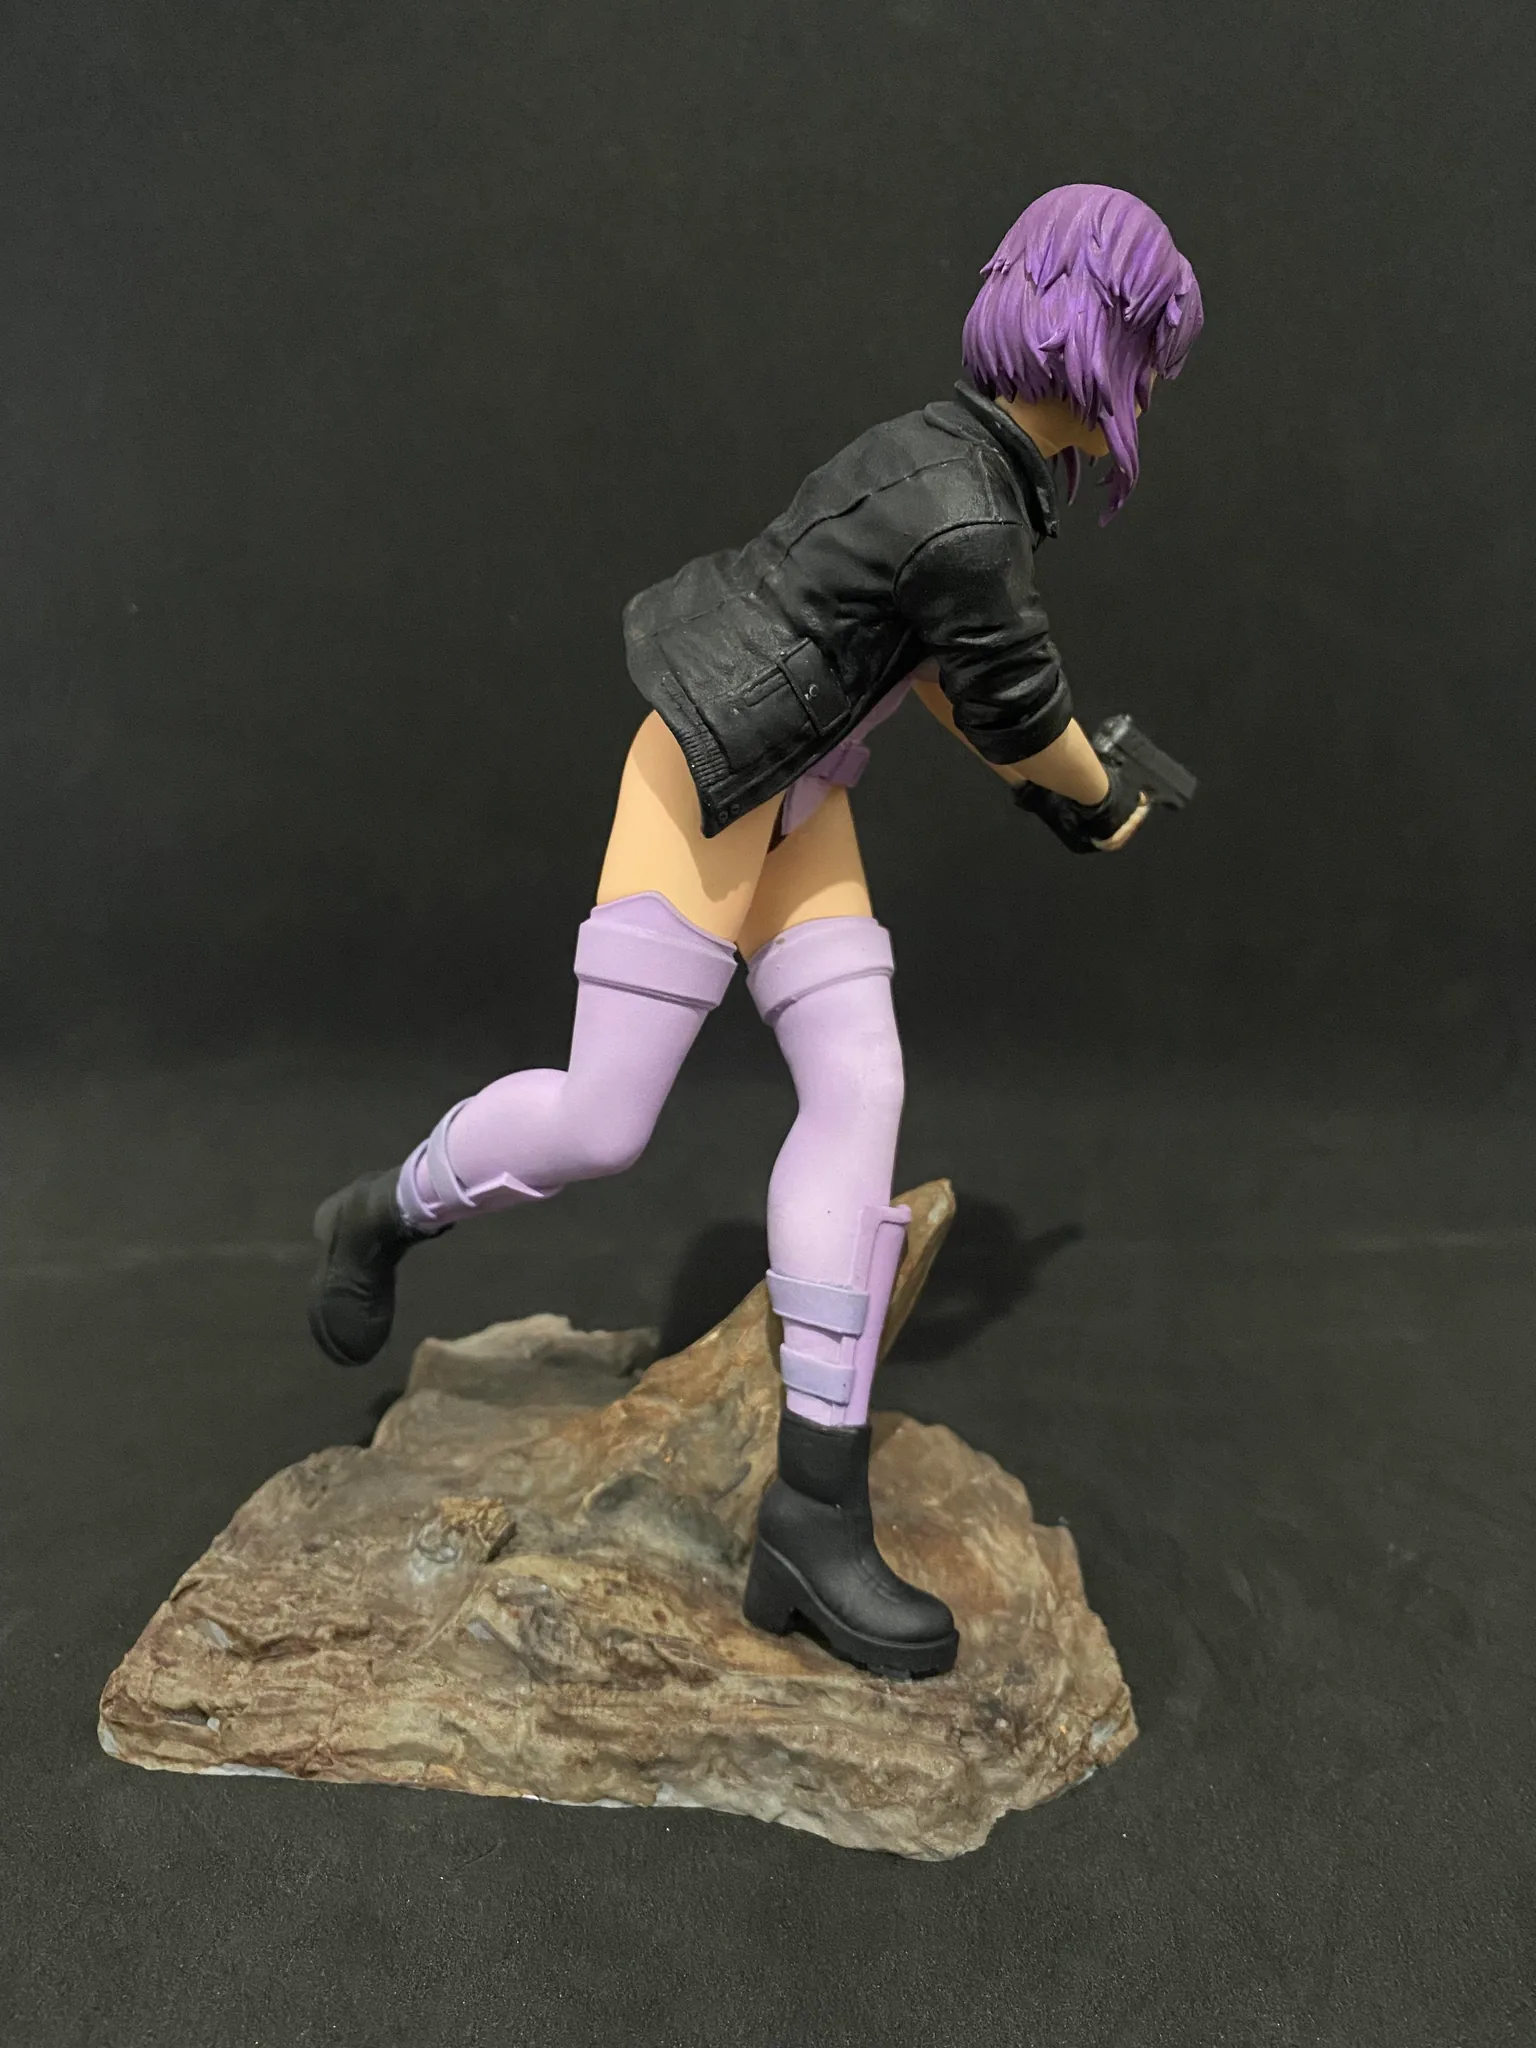
How figure skin tone is layered
How do figure painters make resin skin look soft instead of plastic? Rather than spraying a single opaque flesh color, studio skin painting layers translucent warm under-shading, peach or coral blush at joints and cheeks, and a fine matte-to-velvet seal coat that diffuses cabinet light.
- Surface prep and smooth primer. Fine wet-sanding removes layer lines or seam marks before a smooth white, pink, or ivory primer goes down. Any scratch left in the primer telegraphs through translucent skin layers.
- Undertone and shadow pre-shading. Thin warm peach, terracotta, or cool violet-rose shadow layers are airbrushed into anatomical recesses (collarbones, ribcage, behind the knees, and between fingers).
- Translucent base skin mist. The primary skin tone is misted in thin passes to blend the shadows gradually instead of burying them under a flat opaque coat.
- Targeted blush and warmth. Soft warm tints are feathered where blood flow naturally shows: cheeks, nose bridge, fingertips, knuckles, elbows, knees, and shoulders.
- Micro-details and topcoat. Eyes, eyelashes, lips, and fingernails receive satin or gloss accents after the main skin is sealed in a soft matte or velvet varnish.
How sheen separates leather, nylon, silk, and cloth
Even when two costume pieces share the exact same color—such as a black jacket worn over black stockings and black boots—varying the clearcoat sheen lets the eye read each material immediately:
| Material | Target sheen | How the effect is painted |
|---|---|---|
| Bare skin | Soft matte to velvet | Translucent airbrushed gradients and warm joint blush; zero plastic glare |
| Patent leather, vinyl, & latex | High gloss | Deep dark base with crisp specular edge highlights and a levelled gloss clearcoat |
| Worn leather, holsters, & boots | Satin / semi-gloss | Subtle edge wear along straps and creases with a medium satin seal |
| Sheer stockings & nylon hosiery | Satin with skin bleed-through | Painted skin tone underneath, misted with translucent black, brown, or violet—thinner over stretched knees and thighs, denser at seams and cuffs |
| Cotton, wool, denim, & fur | Dead-flat matte | Soft airbrushed fold shadows or dry-brushed texture sealed with flat varnish |
| Silk, satin dresses, & ribbons | Pearl or soft satin | Subtle pearl or metallic mid-tone highlights across raised folds |
| Buckles, zippers, & weapons | Metallic gloss or brushed metal | True metallic pigments applied after matte masking so metal hardware pops against flat cloth |
How to specify skin and fabric finishes in your plan
When preparing a supplied 3D model, garage kit, or figure repaint plan, label the skin and material choices explicitly:
- Skin warmth and value: Attach one reference image that shows the exact skin value (porcelain, fair peach, warm tan, deep bronze, or unnatural fantasy tone) and state whether you want subtle natural blush or pronounced anime-style blush.
- Sheer fabric opacity: If the outfit includes stockings, tights, or translucent veils, state how much underlying skin tone should show through at the knees and thighs.
- Special markings: Point out beauty marks, freckles, scars, tan lines, or tattoos with clear placement views.
- Shading style: Say whether you want smooth naturalistic transitions or 2D cel-shaded shadow blocks.
How cabinet lighting temperature shifts skin and fabric tones
Why does a figure's skin tone look warmer on a bedroom shelf than inside an LED display case? The color temperature (measured in Kelvin) and angle of your display lighting change how translucent skin blush and dark fabric sheens appear to the eye.
| Display lighting type | Effect on painted skin tones | Effect on fabric & leather sheen | What to note in your paint plan |
|---|---|---|---|
| Warm white LEDs (2700K – 3000K) | Enhances peach, coral, and tan undertones; can make very pale porcelain skin look slightly golden | Softens harsh glare on gloss leather and warms metallic gold trim | Mention warm cabinet lighting if you want fair skin kept neutral rather than overly yellow-warm |
| Neutral daylight LEDs (4000K – 4500K) | Closest match to balanced studio photography; keeps both warm blush and cool shadow tints accurate | Shows clear separation between dead-flat cloth, satin hosiery, and gloss boots | Ideal baseline if you move figures between different shelves or photograph them |
| Cool white strips (5500K – 6500K) | Emphasizes pale or fantasy skin tones (violet, blue, undead) but can wash out subtle peach blush | Sharpens specular reflections on vinyl, armor, and wet-look gloss coatings | Ask for slightly richer warm blush at cheeks and joints so skin does not look chalky under cool LEDs |
Describe the finish you want
Include skin-tone references, the sheen you want for each costume material, and the character source in your project plan.
Build a figure project plan